Breaded Chicken Breast in Oven
Ever walked into your kitchen craving a meal that’s both comforting and impressive? Breaded chicken breast in the oven is your culinary superhero. This oven-baked chicken breasts recipe transforms ordinary poultry into a crispy, golden masterpiece that’ll have your family begging for seconds.
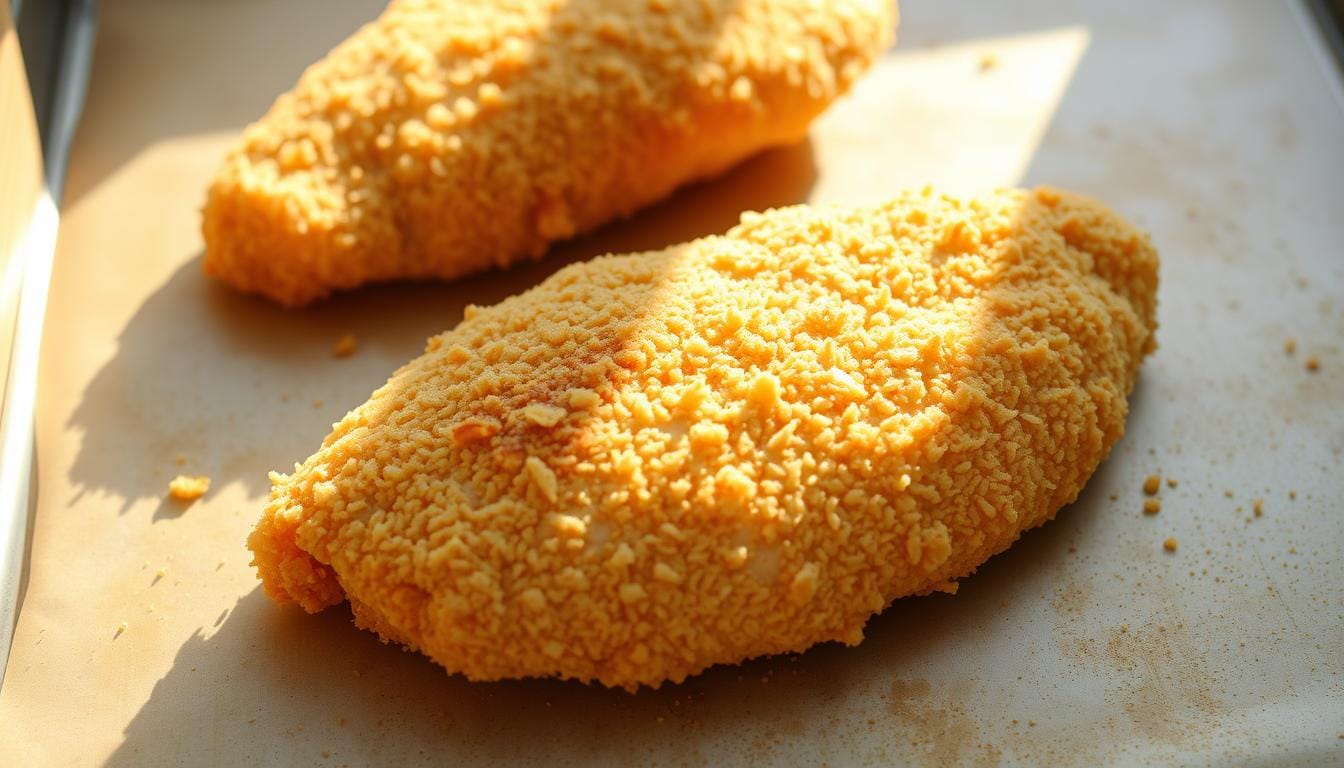
Imagine cutting into a perfectly cooked crispy breaded chicken, hearing that satisfying crunch, and revealing a juicy, tender interior. No complicated techniques, no deep-frying mess—just pure, delicious simplicity that takes just 30 minutes from start to finish.
Key Takeaways
- Breaded chicken breast in oven is quick and easy to prepare
- Achieve restaurant-quality crispiness without deep-frying
- Perfect weeknight dinner solution for busy families
- Versatile recipe that can be customized with different seasonings
- Healthier alternative to traditional fried chicken
Why Choose Oven-Baked Breaded Chicken
Discovering the perfect baked chicken recipes can change your cooking game. Oven-fried chicken is a tasty swap for deep-frying. It brings healthier meals to your dinner table.
More home cooks are picking healthier fried chicken options. These options don’t lose out on taste or texture. Baking chicken is a smart way to enjoy crispy dishes without the guilt.
Benefits of Baking vs. Frying
- Significantly reduces overall fat content
- Eliminates excess oil absorption
- Maintains chicken’s natural moisture
- Requires minimal cooking equipment
Health Advantages
| Nutritional Comparison | Fried Chicken | Oven-Baked Chicken |
|---|---|---|
| Calories per Serving | 320 kcal | 170 kcal |
| Fat per Serving | 22g | 3.3g |
| Protein per Serving | 20g | 25.9g |
Time and Convenience Factors
Oven-baked breaded chicken makes meal prep easier. It needs little time and effort to clean up. You get to enjoy a tasty meal without hours of cooking.
“Baking chicken is not just healthier, it’s smarter cooking!” – Professional Chef
Choosing baked chicken recipes is a smart, healthy choice. It saves time and supports your wellness goals.
Essential Ingredients for Perfect Breaded Chicken
Creating delicious panko-crusted chicken breasts starts with the right ingredients. Your success in the kitchen depends on knowing each part’s role. This will help you make a dish that wows everyone.
Choosing the Right Breadcrumbs
Not all breadcrumbs are the same. For the best crispy texture, consider these:
- Traditional breadcrumbs: Fine and dense
- Panko breadcrumbs: Light and extra crispy
- Parmesan-crusted chicken variations: Adds rich flavor
Seasoning Secrets
Boost your panko-crusted chicken with these seasoning mixes:
| Seasoning | Quantity | Flavor Profile |
|---|---|---|
| Italian Seasoning | 2 teaspoons | Herbaceous and warm |
| Garlic Powder | 1 teaspoon | Savory and aromatic |
| Paprika | 2 teaspoons | Mild and slightly sweet |
Selecting Perfect Chicken Breasts
Your chicken choice is crucial. Look for breasts that are:
- Uniform in thickness (about 1/2 inch)
- Fresh and high-quality
- Free from bruising or discoloration
“The secret to great chicken is in the details of preparation and ingredient selection.”
Pro tip: For the best results, choose chicken breasts of 6-8 ounces each. This size ensures even cooking and the perfect texture for your dish.
How to Prepare Breaded Chicken Breast in Oven
Preparing breaded chicken breast in the oven needs care and precision. The right cooking methods can make a simple dish into a crispy, tasty meal. Here’s how to make perfect oven-baked chicken.
Begin by picking high-quality chicken breasts. Careful preparation ensures even cooking and great flavor. Here’s how to bread chicken breast in the oven:
- Prepare the chicken:
- Butterfly the chicken breasts
- Pound to an even ¼-inch thickness
- Pat dry with paper towels
- Create your breading station:
- Mix panko crumbs (1½ cups)
- Add grated Parmesan (2 tablespoons)
- Season with garlic powder and salt
- Breading process:
- Whisk 2 large eggs in a shallow dish
- Dip chicken in egg wash
- Coat thoroughly with breadcrumb mixture
| Ingredient | Quantity | Purpose |
|---|---|---|
| Panko Crumbs | 1½ cups | Creates crispy coating |
| Parmesan Cheese | 2 tablespoons | Adds flavor and texture |
| Eggs | 2 large | Helps breading stick to chicken |
The key to perfect breaded chicken is the oven temperature. Preheat to 425°F. Use a baking sheet with parchment paper. Drizzle olive oil lightly for a golden, crispy exterior.
Bake for 15 minutes first. Then, check the chicken’s internal temperature. It’s done at 165°F. For extra crispiness, broil for 2-3 minutes at the end. This method ensures a delicious, crispy meal every time.
The Secret to Achieving Crispy Coating
Creating the perfect crispy breaded chicken is more than just mixing ingredients. It’s about using special techniques to get that ultimate crunch. Your oven-fried chicken can go from good to great with a few simple steps.

Mastering the Breading Process
The key to crispy breaded chicken is in the breading technique. Here are some pro tips:
- Use a dry hand, wet hand method to prevent breading clumping
- Pat chicken completely dry before breading
- Create a three-station breading setup:
- Seasoned flour
- Egg wash
- Seasoned breadcrumbs
Temperature Control Secrets
Getting the perfect crispy coating needs careful temperature control. Preheat your oven to 425°F for the crispiest results. Also, use a wire rack on your baking sheet to help air circulate.
| Technique | Impact on Crispiness |
|---|---|
| Preheating Oven | Ensures immediate crust formation |
| Wire Rack Placement | Allows hot air circulation |
| Cornstarch Addition | Creates lighter, crispier coating |
Moisture Management Techniques
Moisture is the biggest enemy of crispy oven-fried chicken. Here are some pro tips to keep your breading crunchy:
- Marinate chicken in buttermilk for 10-30 minutes
- Thoroughly pat chicken dry before breading
- Avoid overcrowding the baking sheet
- Use a light cooking spray for extra crispiness
By using these techniques, you can make crispy breaded chicken at home, just like a restaurant.
Best Temperature and Timing Guidelines
Mastering chicken breast cooking methods is all about the right temperature and timing. The secret to great baked chicken is a golden-brown outside and juicy inside.
To make breaded chicken breast in the oven, start by heating your oven to 450°F. This high heat makes the coating crispy and keeps the meat moist. Here are the key steps:
- Preheat oven to 450°F (232°C)
- Bake chicken breasts until internal temperature reaches 160°F
- Total cooking time typically ranges 18-22 minutes
- Allow 5-minute resting period after baking
The critical moment in cooking chicken breasts is checking the internal temperature. Use a meat thermometer to make sure it hits 165°F. This ensures the chicken is safe to eat and not overcooked.
| Chicken Breast Weight | Approximate Cooking Time |
|---|---|
| 6-7 ounces | 18-20 minutes |
| 8-9 ounces | 20-22 minutes |
Pro tip for baked chicken recipes: Pound chicken breasts to an even thickness before cooking. This helps them cook evenly and prevents dry edges.
Remember, patience is key in achieving perfectly baked chicken breasts!
Brining and Seasoning Techniques
Learning about brining and seasoning can make your chicken breast cooking better. These methods turn simple chicken into a flavorful and moist dish.

Brining is a key technique for tender, juicy chicken. It involves soaking chicken in a saltwater solution. This helps keep moisture in and adds flavor.
Optimal Brining Methods
The way you brine can greatly affect your chicken’s quality. Here are some brining times to try:
- 15-30 minutes: Lightweight brining with subtle salt infusion
- 1-2 hours: Ideal brining time for perfectly seasoned chicken
- 4 hours: Maximum recommended time to prevent over-salting
Flavor Enhancement Tips
Try different seasoning mixes to make your baked chicken stand out. A good mix can take your chicken from ordinary to amazing.
Seasoning Combinations
Here’s a strong seasoning mix to try:
- 1 ½ teaspoons paprika
- 2 teaspoons brown sugar
- 1 teaspoon garlic powder
- ½ teaspoon onion powder
- 1 teaspoon Italian seasoning
- ½ teaspoon black pepper
For the best results, brine with 3 cups of water and 3 tablespoons of kosher salt. Your chicken will be incredibly tender and flavorful!
Serving Suggestions and Side Dishes
Make your baked chicken breast dinner special with the right side dishes. These can turn a simple meal into a feast that everyone will love.
Here are some tasty side dishes that go great with your chicken:
- Roasted Garlic-Parmesan Potatoes – crispy outside, soft inside
- Wild Rice Pilaf with Herbs
- Sautéed Green Beans with Toasted Almonds
- Creamy Tuscan Orzo
- Fresh Greek Salad
Choosing the right side dishes can make your meal even better. Think about the flavors of your chicken when picking sides.
| Side Dish | Preparation Time | Flavor Profile |
|---|---|---|
| Roasted Sweet Potatoes | 25 minutes | Sweet, Savory |
| Garlic Green Beans | 15 minutes | Zesty, Fresh |
| Creamy Mashed Potatoes | 30 minutes | Rich, Comforting |
Tip: Match your side dishes to your chicken’s flavors. A chicken with herbs goes well with roasted veggies. Spicy chicken needs something cool, like a cucumber salad.
Storage and Reheating Tips
When you make chicken breast, it’s important to store and reheat it right. Leftover chicken stays good in the fridge for three to four days if it’s kept at 40°F or below. Let the chicken cool down to room temperature for about an hour before you put it in the fridge. This helps prevent moisture from building up.
To reheat chicken, use the right method to keep it crispy. Oven or air fryer are best for this. Preheat your oven to 350°F and put the chicken on a baking sheet. Or, use an air fryer at 375°F for 4-5 minutes. Make sure the chicken’s internal temperature hits 165°F for safety.
If you like meal prep, slice chicken breasts into one-inch thick pieces. This makes them easier to store and reheat. Wrap each piece in foil to keep moisture in and quality up. Don’t microwave chicken, as it can dry out and lose its crispiness. Follow these tips to enjoy tasty, crispy chicken all week with little effort.
FAQ
Can I use frozen chicken breasts for this recipe?
How do I prevent the breading from falling off while baking?
What’s the best way to tell if my chicken is fully cooked?
Can I make this recipe gluten-free?
How long can I store leftover breaded chicken?
Can I prepare breaded chicken in advance?
What’s the best way to get an extra crispy coating?
Are there any alternative breading options for those with dietary restrictions?
Did you like this recipe? Share your thoughts!
There are no reviews yet. Be the first one to write one.